Drip painting techniques
Far from being a randomized application method, these techniques are remarkably complex and take practice to get control of paint.
Far from being a randomized application method, these techniques are remarkably complex and take practice to get control of paint.
Discussing drip or controlled pour painting without mentioning Jackson Pollock‘s influence is impossible. His work remains as controversial now as it was fifty years ago, and his impact on the art world was astonishing at the time. Even today, his legacy and idolization show little sign of receding.
Pollock started the whole drip thing in the late 1940s and early 1950s. However, while much is talked about the man and his paintings, very little is written about the actual process and techniques of drip painting.
As an artist, I cannot put myself in Pollock’s head, but I have studied his methodology in detail. Consequently, I have experimented extensively with applying paint to canvas over many years. Although I don’t base any of my paintings solely on his styles, I do use them as a reference tool for paint layering and effects. Be sure to check out my Blue Poles Project – recreating Pollock’s icon.
Here, I offer an insight into a series of modified techniques from my own perspective, which are in no way linked to or copied from anyone else’s style or work. So, let’s explore the world of drip painting and the impact of Jackson Pollock’s techniques.
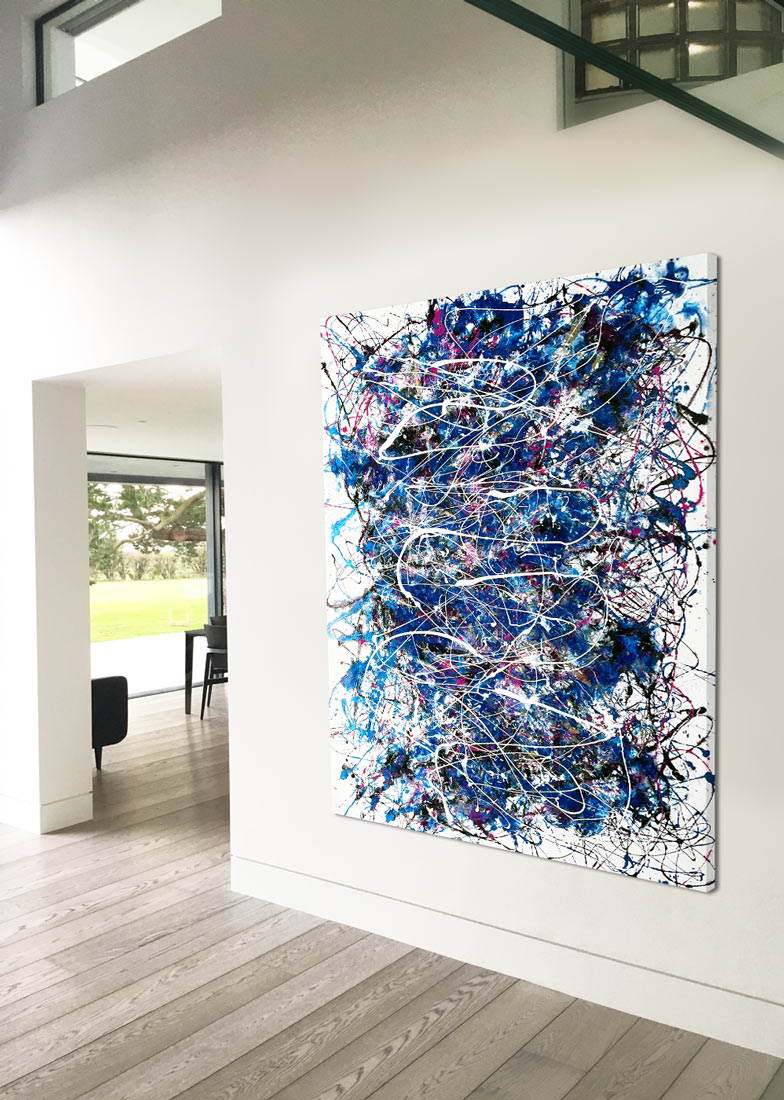
Laying the groundwork for a masterpiece is no easy feat. For me, it all starts with a blank canvas laid out on the floor. As an artist, I have a clear vision of what I want to create, and I know exactly what colours I will use, the brushstrokes and the number of layers. It’s all a part of my creative process.
Before I even begin, I spend a considerable amount of time mixing my colours and experimenting with different thinning agents. This part of the process is crucial, as it impacts how the final painting will look. Getting the right balance of chemicals is key, and I use around 10 different additives to help me achieve the desired effects.
One of the reasons I love working with enamel paints is the unique characteristics they possess. They allow me to achieve the textures and finishes that I envision for my artwork that acrylics and other types simply cannot match. The thinning process is also essential in getting the perfect consistency for each layer of paint, and I calculate the ratios of paint to thinners as accurately as I can based on experience.
As an artist, I have found that traditional paint brushes are not always the best tool for the job. For base coating and beyond, I prefer to use grout spreaders and window squeegees. These simple tools give me a better and more even finish than a brush ever could.
When it comes to mixing and pouring, I have a system that works for me. I start with plastic tumblers for decanting the paints and mixing the chemicals. From there, I move to a series of smaller vessels, which helps me achieve a finer pour line as the vessel size decreases.
But before I even begin pouring, I must carefully consider pour density and flow rates. If a mix is too dense, it won’t come out fast enough, causing issues with line wavering. On the other hand, if it’s too runny, it pools as soon as it hits the canvas and becomes difficult to control. Finding the right balance is essential for achieving the desired effect.
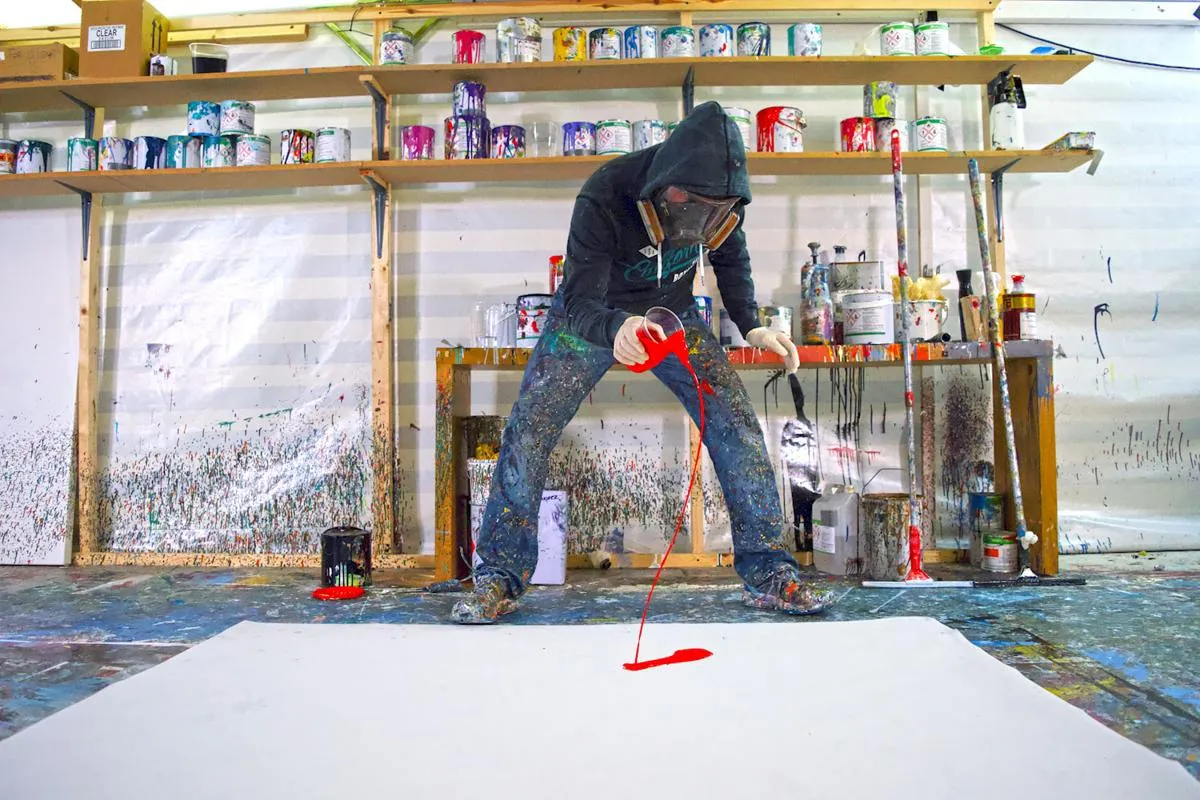
The first stroke is always the hardest. I have no set way of starting, and the brush may move in any direction. I let the paint lead the way. As I work, I alternate between brushes, spoons, sticks and my hands – whatever feels right at the time. I’m not afraid to get messy, and often the best effects come from finger painting.
I work quickly, moving around the canvas, not concentrating on any one section for too long. I don’t want the paint to dry before I’ve had a chance to manipulate it to my liking.
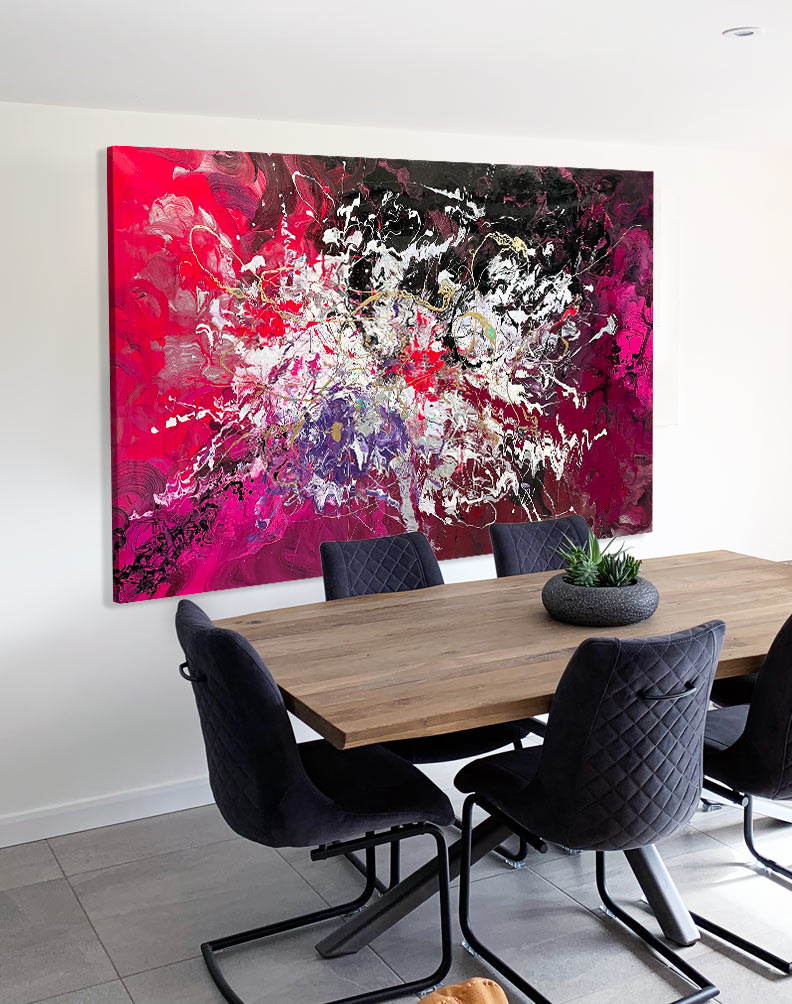
Once the first layer is complete, I step back and examine my work, assessing how the colors blend and react with each other. This is where the real work begins, building up layers and textures to create depth and interest. Each stroke is made with intention, adding to the final piece’s overall feel and tone.
The painting is an extension of myself, a reflection of my thoughts, emotions, and mood at the time of creation. It’s a journey, and as with all journeys, it’s not the destination but the process that is truly important.
Mastering the art of drip and drop painting requires a unique set of techniques. One of the primary methods employed by the artist is a variety of wrist sweeps and movements. By using forward and backward strokes in each movement, the artist can control the initial direction of the paint, typically accounting for 75% of the paint on the tool.
Equally important is the remaining 25%, which is guided by the same principle to create a double sweep effect. The direction of the second sweep can vary, adding an element of unpredictability to the process.
The angle of the brush relative to the canvas, the height above the canvas, the volume of paint per gesture, and the intended placement of each gesture on the canvas are all carefully considered. Making these decisions in a split second requires a keen eye and a deep understanding of the interactions between the different elements of the painting.
Each gesture must be perfectly timed and placed, relative to all of the other paint on the canvas, in order to create the desired effect.
To achieve the desired effect, I work quickly when applying a single color to keep the motion constant. However, I takes longer periods of contemplation between color applications to visualize what the next wave of gestures will need to be, based on what has gone before.
I use various movements such as arcs, drops, throws, half-arcs, and full circles to apply the paint. After each layer of color is applied, I decide whether to let it dry before applying the next layer or to continue with the next color, depending on the effect I am trying to achieve.
Waiting between layers also has the added benefit of allowing me to decide how far to let the paint “skin” over. This period of rest is defined by how far I want the separation of applications to be defined. If I want to mix colors, I wait for less time. For more linear and singular applications, I allow longer periods of rest between layers. This layering technique helps create texture and depth in the finished piece.
Creating a painting is a process that involves constant monitoring and adaptation. The beauty of the art lies in how it evolves and transforms as it dries.
As the paint begins to cure, the colors start to change, and the painting takes on a life of its own. It is fascinating to watch as the pigments blend and form complex neural pathways and junctions that create a unique and organic tone.
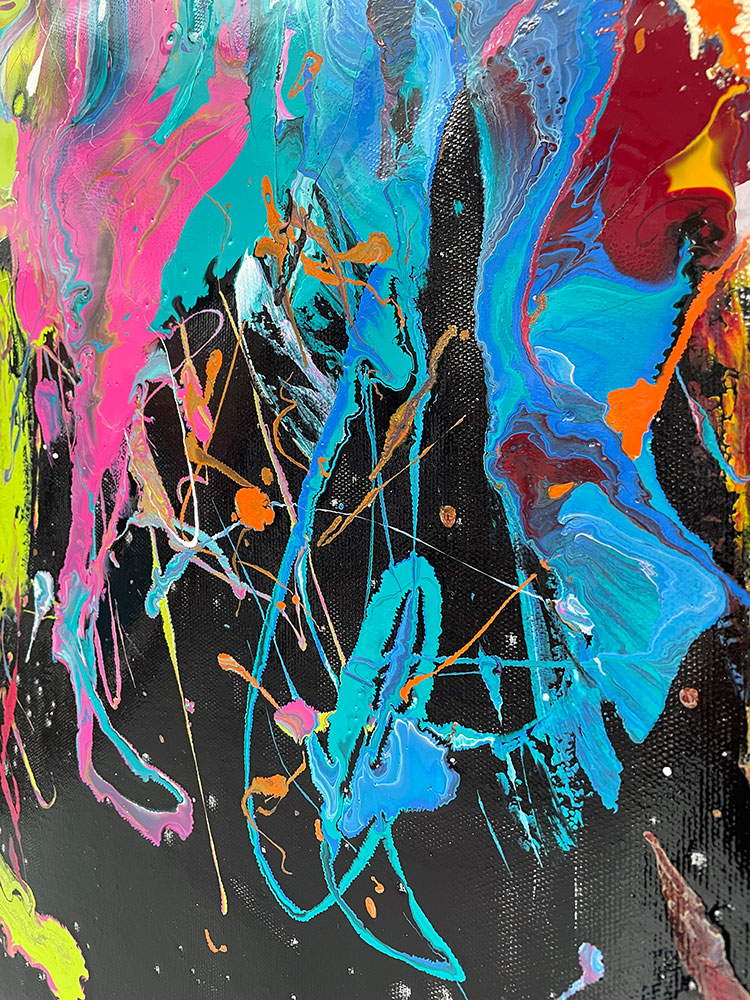
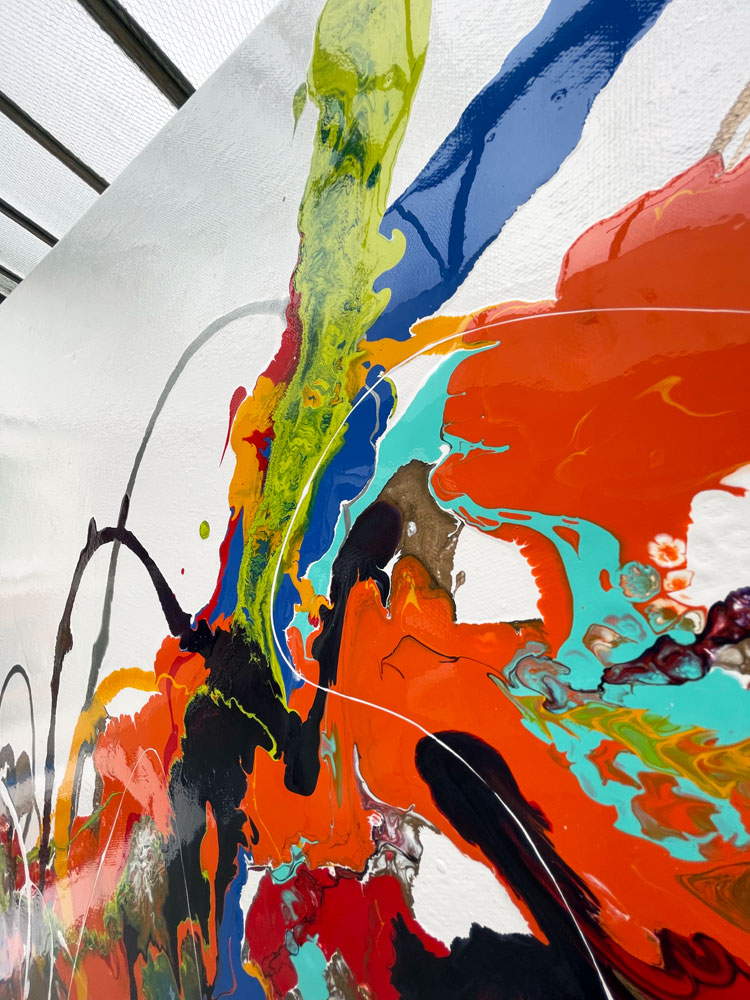
To achieve this complex layering, I carefully apply linear and balanced gestures that interlace to form intricate sections. I incorporate various techniques such as puddling, marbling, and rippling to create a sense of depth and movement that can only be fully appreciated up close.
Despite my meticulous planning though, there is always an element of uncontrolled movement that occurs as the paint vapors evaporate. It is this unpredictability that makes each painting a unique work of art. I must continuously adapt and adjust my technique to ensure that the final piece is a true reflection of my artistic vision.